
Healthy Homes – it’s not just for renters

Image credit: Pexels
If you’re in the market for a new home or thinking about moving from a rental to owner-occupied, you’re likely to be familiar with the Healthy Homes Standards. These were brought in to ensure a better standard of dwelling for tenants and focus on key areas like adequate insulation, heating, ventilation and draught proofing.
But, healthy homes aren’t just for renters! Wouldn’t it be great if you applied the same requirements and principles across the property you’re looking at purchasing? Does your potential purchase come up to scratch? Is it warm, dry, and properly insulated? What, if any, is the heating source? Is there adequate ventilation and are the drains working?
When you get a property report back from us, we’ll let you know if your dwelling is ‘compliant’ so there are no (expensive) surprises when you move in!
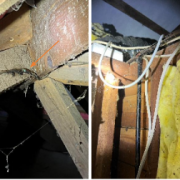
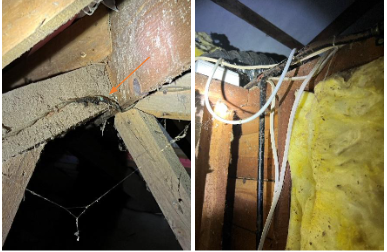
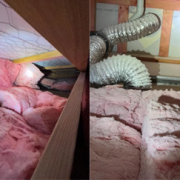
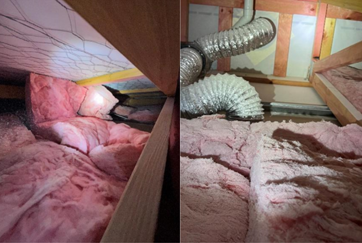
Insulation – the money saver
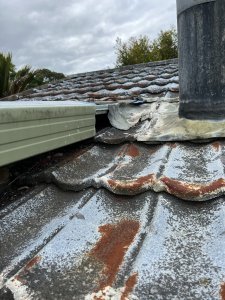
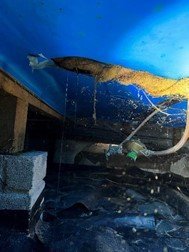
Let’s start at the top with insulation. It’s such an important factor in any building that we wrote a whole blog about it. Good insulation acts like a blanket to keep your home warm in winter and cooler in summer. But if it’s not up to scratch, or non-existent, you’ll soon find out with chilly floors, cold rooms and often, condensation, mould, and damp issues. An uninsulated or barely insulated house will also suffer from poor thermal performance, with heating costs and power bills soaring as a result. So, it’s important for any property inspection to include this in the report.
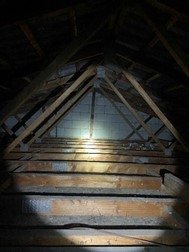
The heat is on – or is it?
Next, what’s your source of heating going to be? When winter hits, you’ll wish you had planned ahead for this one. When you visited the open home, you might have been delighted to see a heat pump installed… but we’ll be checking to see if it’s heating the whole place or just a part of it. Is the heat (or cooling) going to the right places or simply blowing air into the corner of the lounge while leaving the bedrooms freezing? If not a heat pump, what other, if any sources of heating are there? After all, you’ll want to know how expensive it’ll be to keep your home warm.
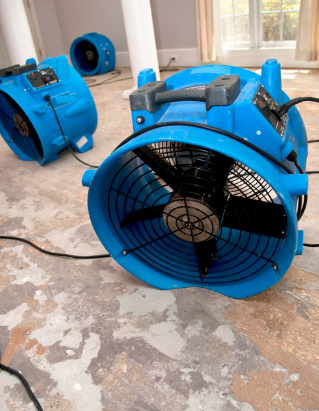
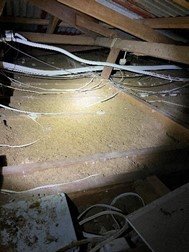
Sealing the deal
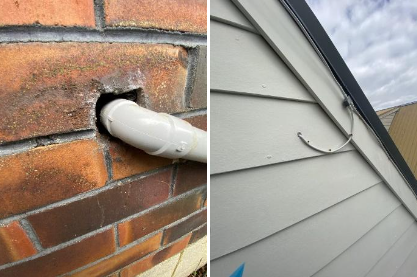
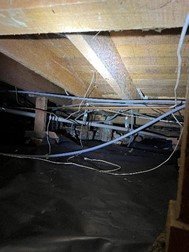
Ventilation and draughts are another biggie that can make the difference between a cosy home and a cold home. Mechanical ventilation systems like DVS can help in this regard, but so can opening windows for fresh air flow. The issue is when windows and doors don’t close in the frames properly or have degraded seals which leach cold air into your indoor spaces – brrr. Another plus of well-sealed windows and doors is noise reduction from noisy neighbours, roads, etc. With a pre-purchase building inspection, you’ll know what you’re getting into.

Image credit: Pexels
Book peace of mind
With the variety and age of housing stock in New Zealand, unless you’re buying brand new, you’ll almost never meet all the ‘requirements’ set out in the Healthy Homes Standards. But a comprehensive pre-purchase inspection is a great place to flag any future areas to upgrade or prioritise. When it comes to opting for the best ‘healthy home’ you can, you’re worth it – and your family’s worth it. It just pays to do the leg work first! Give our friendly team a call on 027 2939 808 and book a report for real peace of mind.


 Image
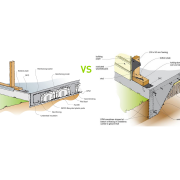
Image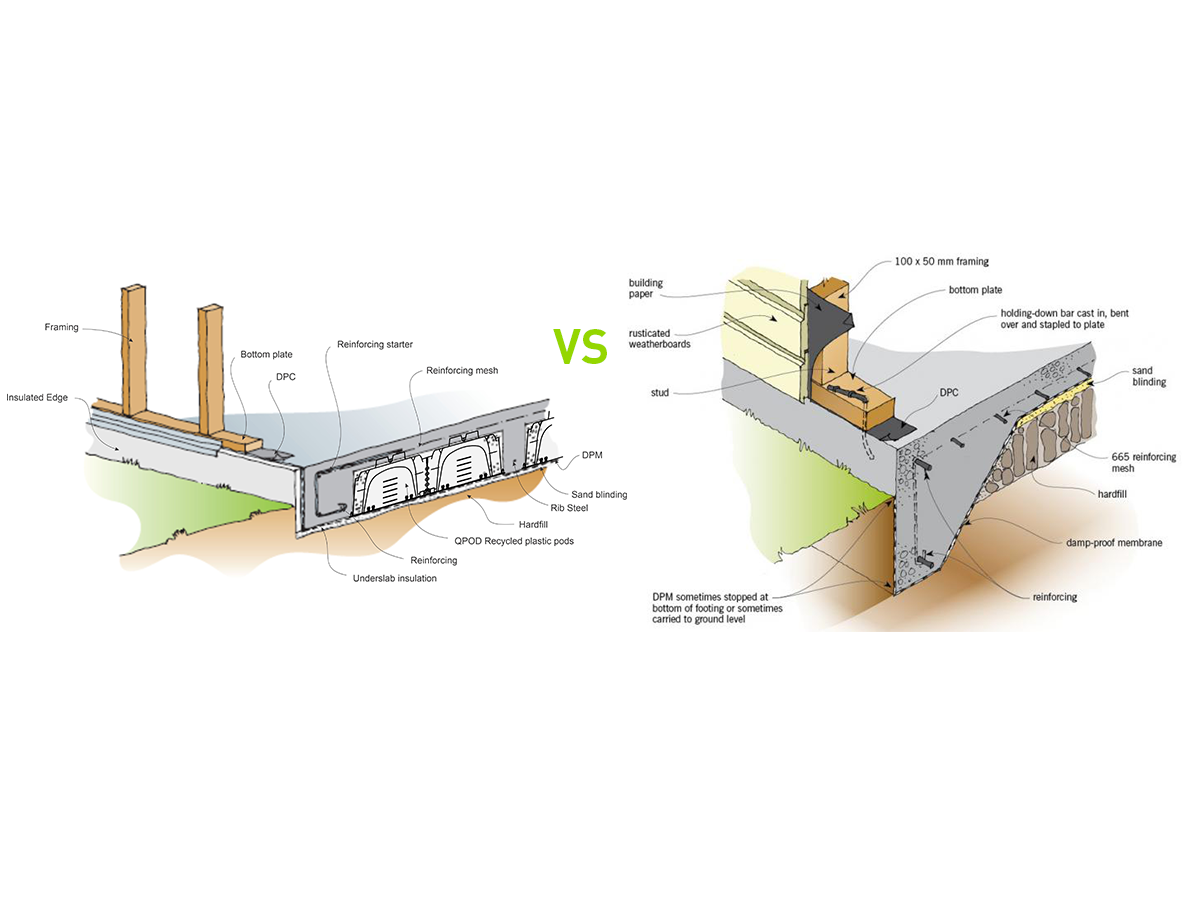 Raft foundation vs conventional foundation